8.16.2010

Guest Room: The Reveal


After ...
  • painting 2 dressers
  • making a new mirror and hanging another
  • installing trim for the chalkboard
  • mounting 2 besides lamps
  • adding a duvet and new blanket
  • painting the walls with Martha Stewart's Sharkey Gray

I have come up with this:
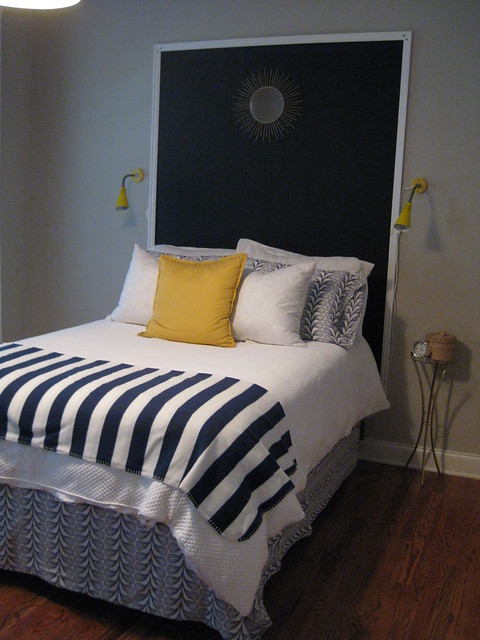


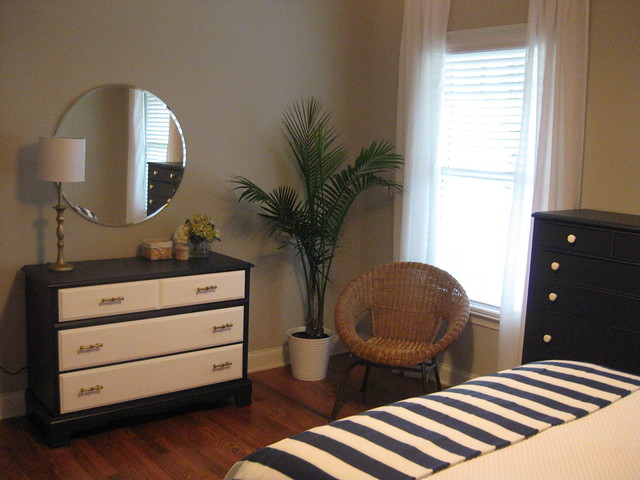
I love the crispness of the gray paint with the white curtains and trim. I have to say that the chalkboard is great, but I'm kind of scared to write on it, it is just so nice and clean! OCD I tell you. The pop of the yellow lights and the texture of the print on the duvet that I used for a bed skirt, it all just falls together nicely. I hope you like it too.

For fun lets look at the evolution...

{ 1 }

{ 2 }

{ 3 }


I think I'm done now. Guest Room we are no longer enemies.


8.10.2010

Guest Room Project#2- The Dressers


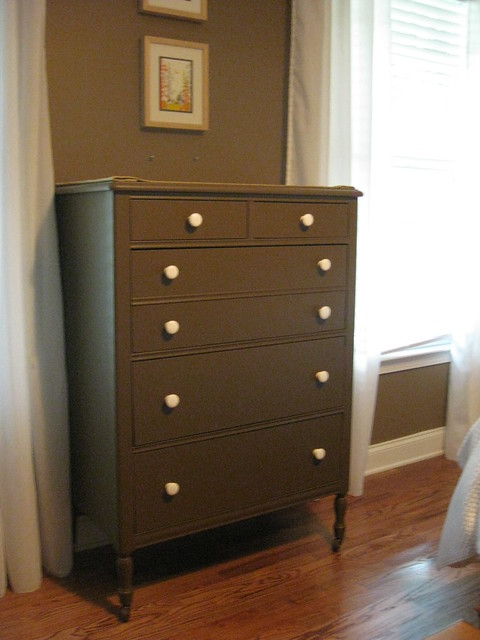
The jumping off point for this whole guest room re-do was my childhood dresser.


{The before}


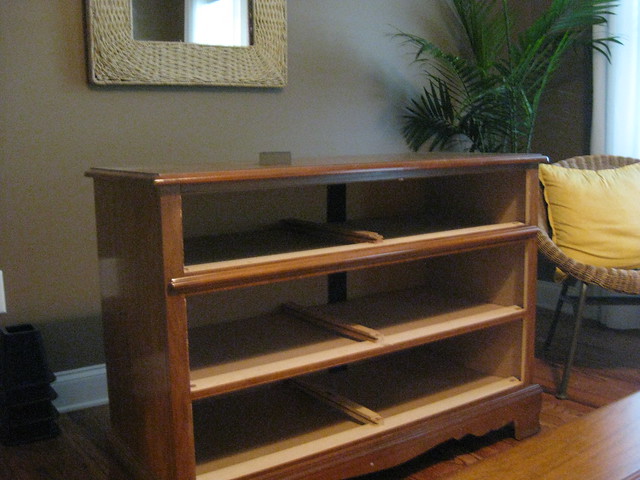
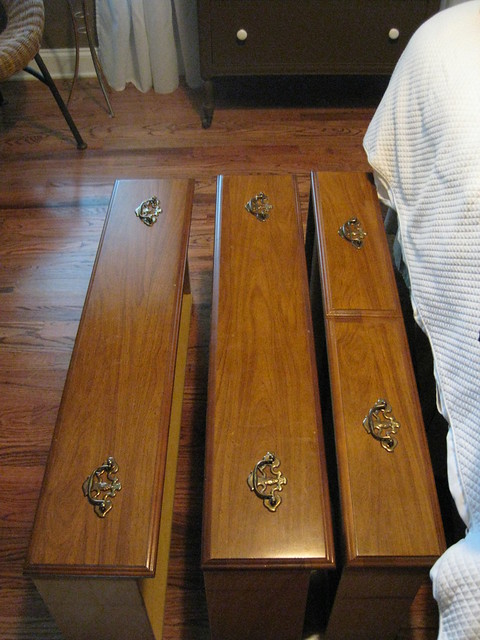
It was mine when I was a baby- it converts to a changing table- and it followed me through college and into our first home, but it shows its age. Old hardware and a blah brown finish didn't help the aesthetics of the room. With my mother not too happy at first, I decided to repaint it and update the hardware.


{New Hardware too!}

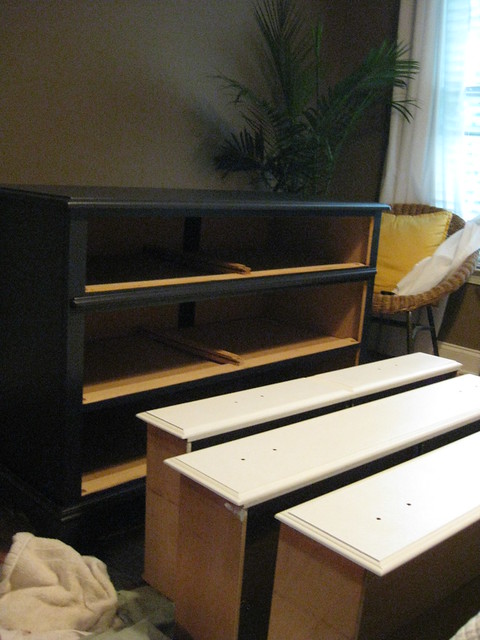
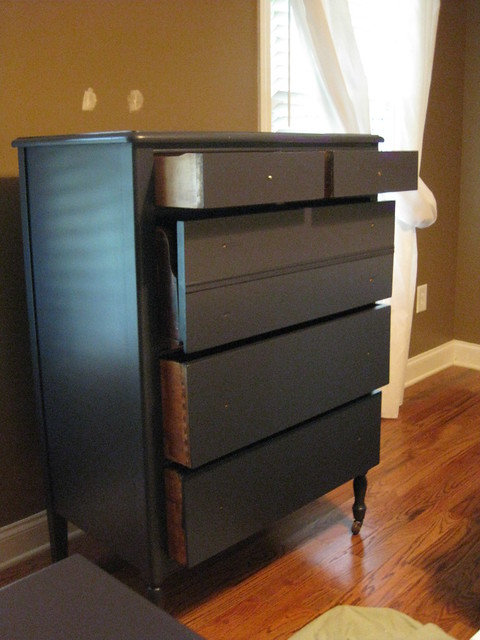
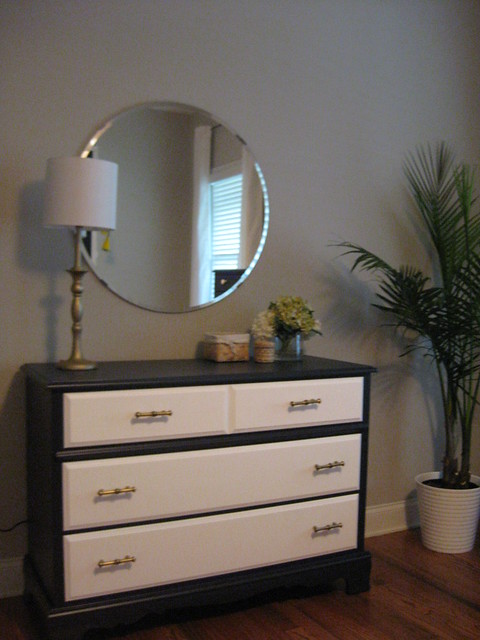
The drawers got a few coats of white, and the body of the dresser a coat of Ralph Lauren's Modern Loft- a brilliant navy blue that we also used in our Master Bedroom. Since the paint was flowing the other dresser got a splash of navy too.


{Before}


I kept the original ceramic hardware that my Pap gave the dresser back in the day. Needless to say, I was soo happy that when I showed my mom the pictures of the newly finished dressers, and she loved them. I always tell Erik and my family that I know they think I'm crazy when I come up with these plans, but in the end everything works out. The dresser has a crisp, clean feel and with everything else that was done in the room it looks much more modern. I still have to share the rest of the room, so don't be shy...


{Sorry for the blurry pics, no flash and tired hands from all that painting!}


8.06.2010

Guest Room Redo, Project 1


I have always liked the symmetry of sunburst mirrors. What I don't like about them is the steep prices. Every one that I find and like is well out of my price range. { The one above is $200!!} So I was out in the interwebs, and I stumbled onto this blog tutorial that opened my world to having my own little sunburst.


{ It is identical!! }

I had a smaller, more simple version in my thoughts so I adapted the recipe a bit.


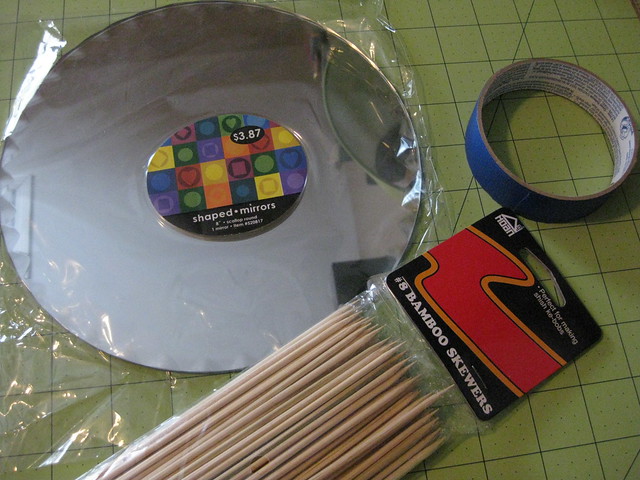
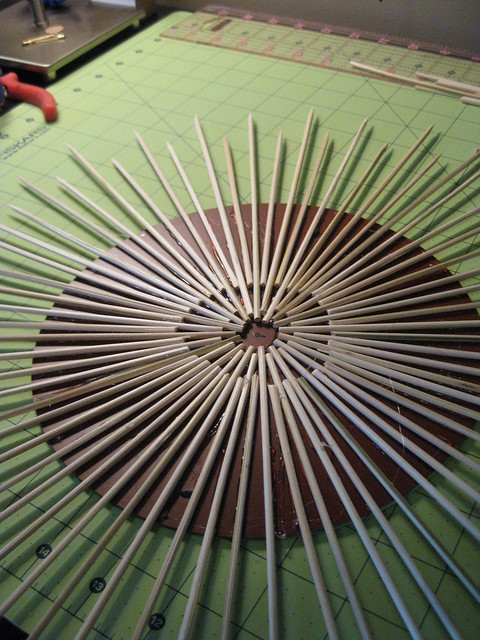
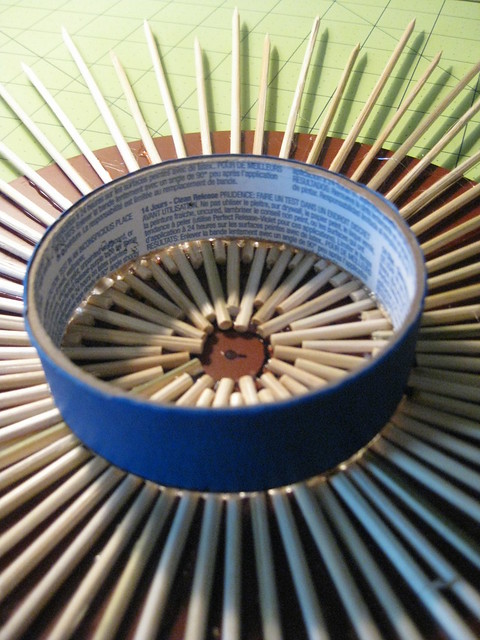
My materials were: a 7" diameter mirror, bamboo skewers, hot glue, gold spray paint and a finished roll of tape. Crazy list I know. I started with drawing two circles on the back of the mirror to use as guidelines. I then glued the skewers starting at 12, 3, 6, and 9, relative to a clock. And then just filled in the gaps between.


Obviously neatness isn't super important- hello wobbly circles! When I couldn't squeeze in anymore, I used the tape roll as a base to hang the mirror from. Once everything was secure out to the driveway I went to spray the skewers with a generous amount of gold spray paint. Here it is hanging at the top of the chalkboard headboard I painted:


Isn't it adorable! The total cost of my version was under $10 including the cost of the mirror, paint, and skewers. More details tomorrow on the dresser refinishing, and the reveal is soon to come. Have a great weekend!