
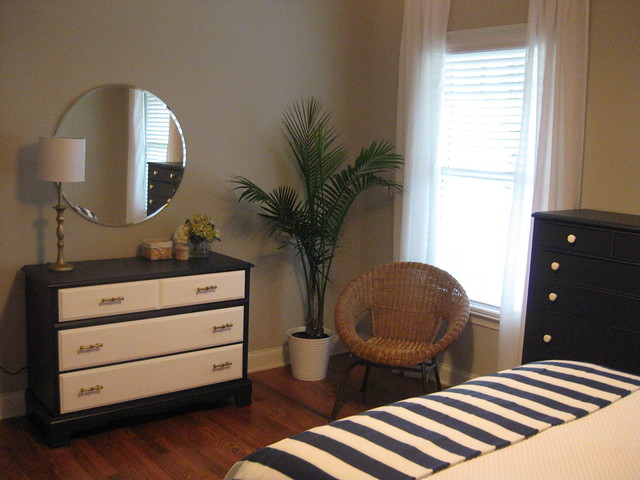
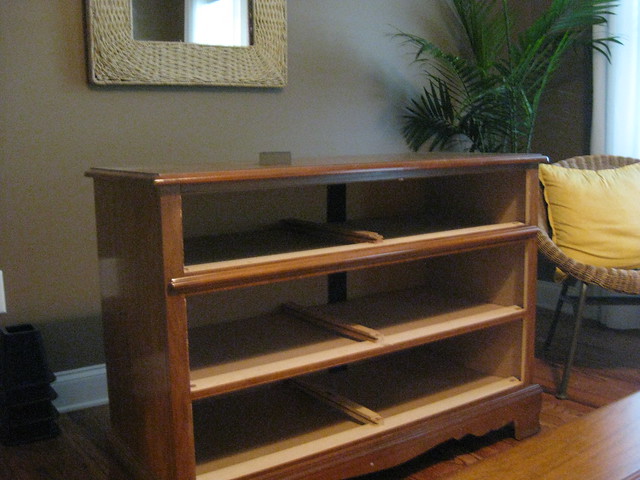
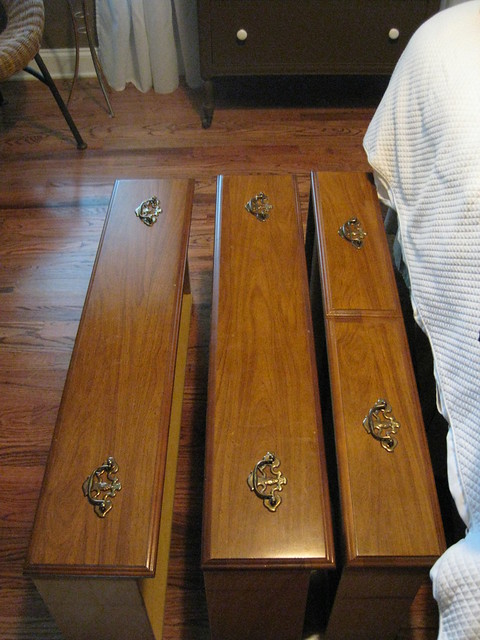
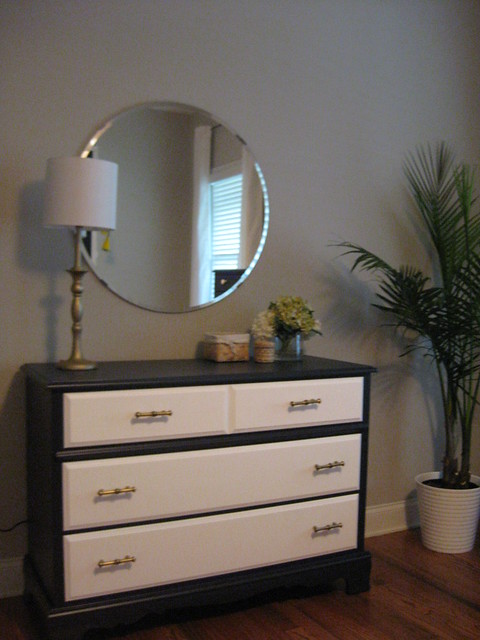
- painting 2 dressers
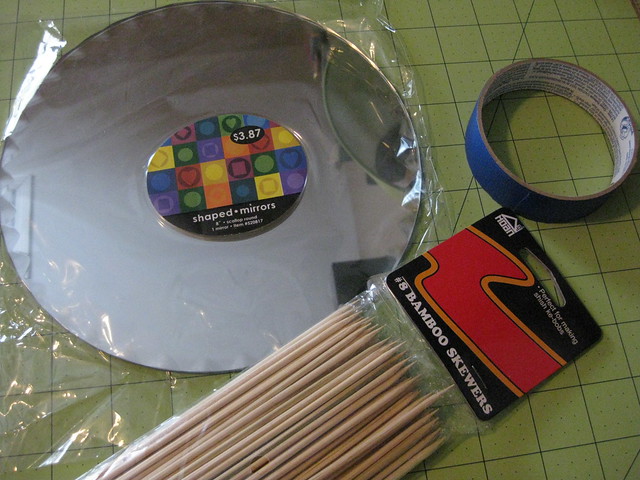
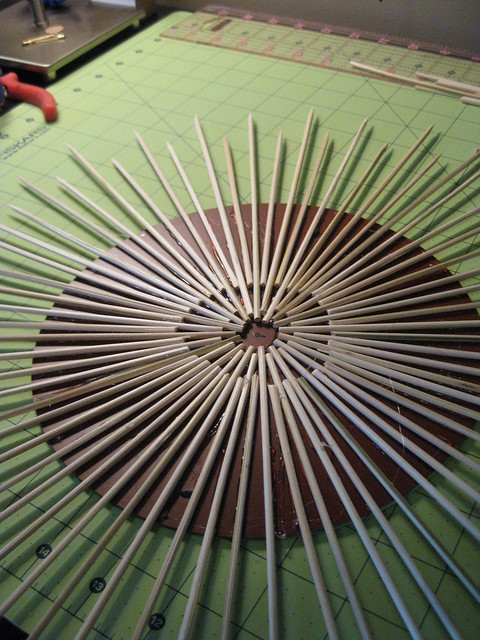
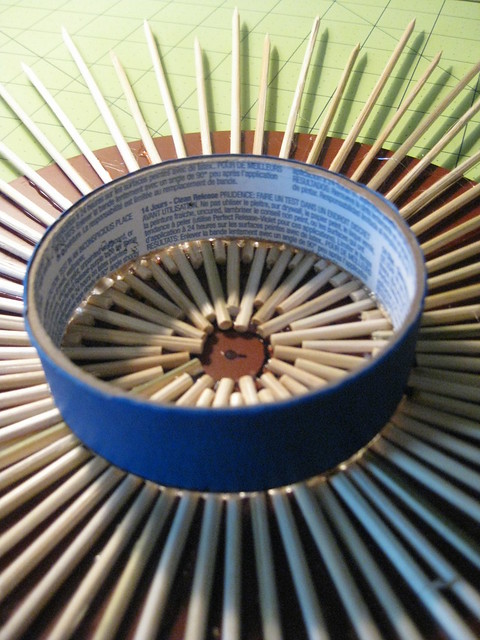
- making a new mirror and hanging another
- installing trim for the chalkboard
- mounting 2 besides lamps
- adding a duvet and new blanket
- painting the walls with Martha Stewart's Sharkey Gray
I have come up with this:
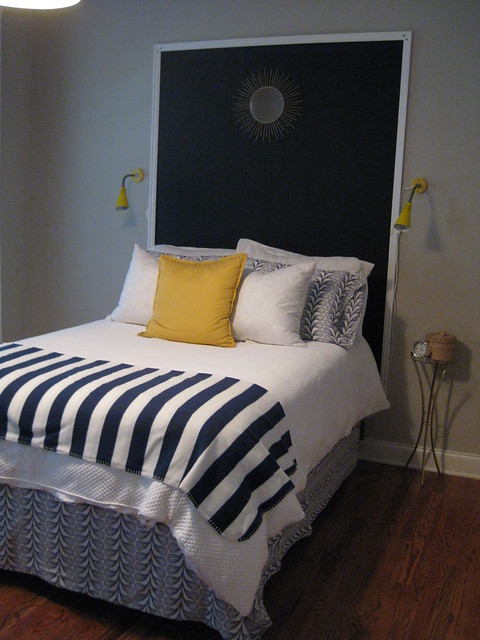
I love the crispness of the gray paint with the white curtains and trim. I have to say that the chalkboard is great, but I'm kind of scared to write on it, it is just so nice and clean! OCD I tell you. The pop of the yellow lights and the texture of the print on the duvet that I used for a bed skirt, it all just falls together nicely. I hope you like it too.
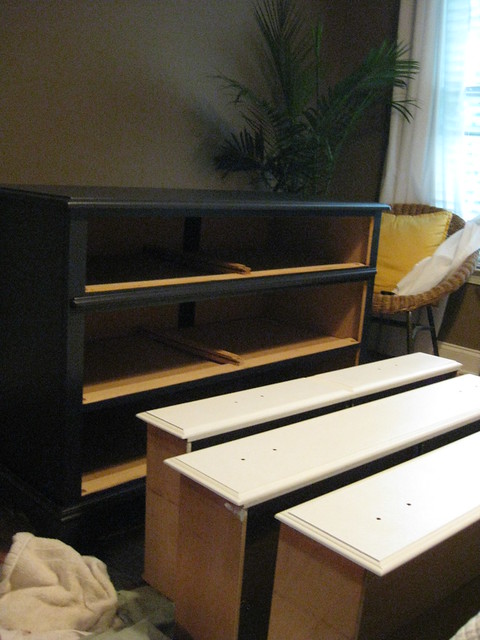
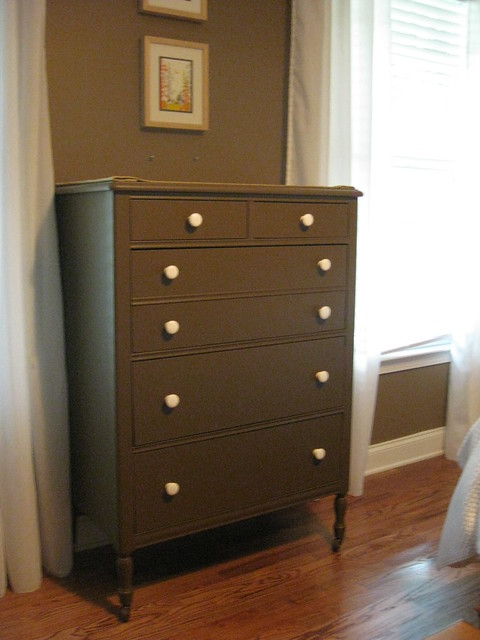
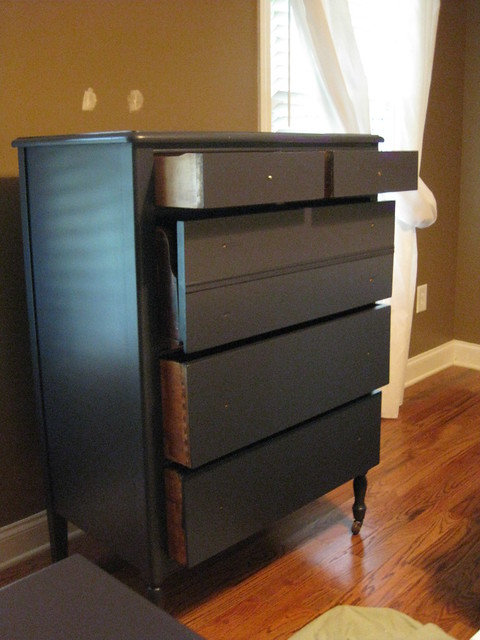
For fun lets look at the evolution...

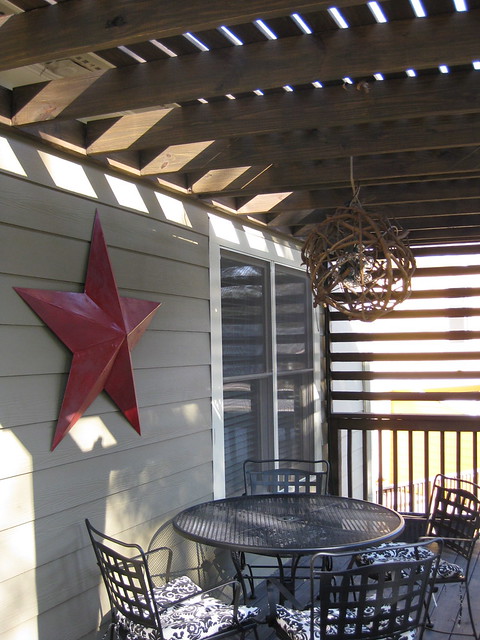
{ 1 }

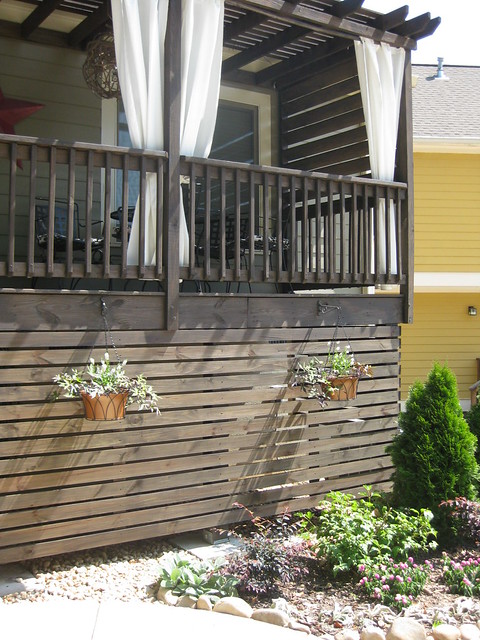
{ 2 }
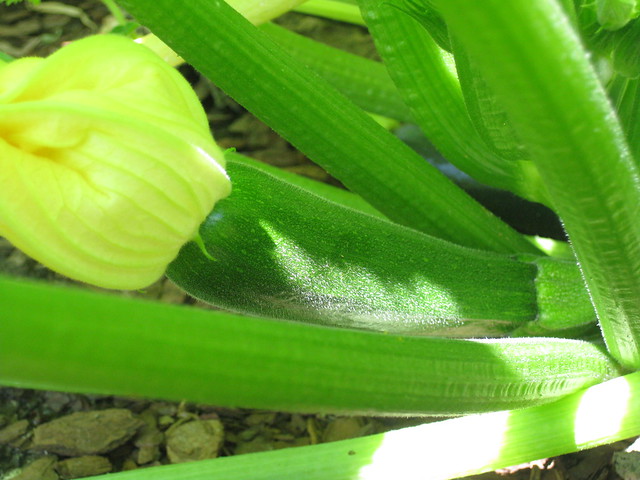
{ 3 }
I think I'm done now. Guest Room we are no longer enemies.


